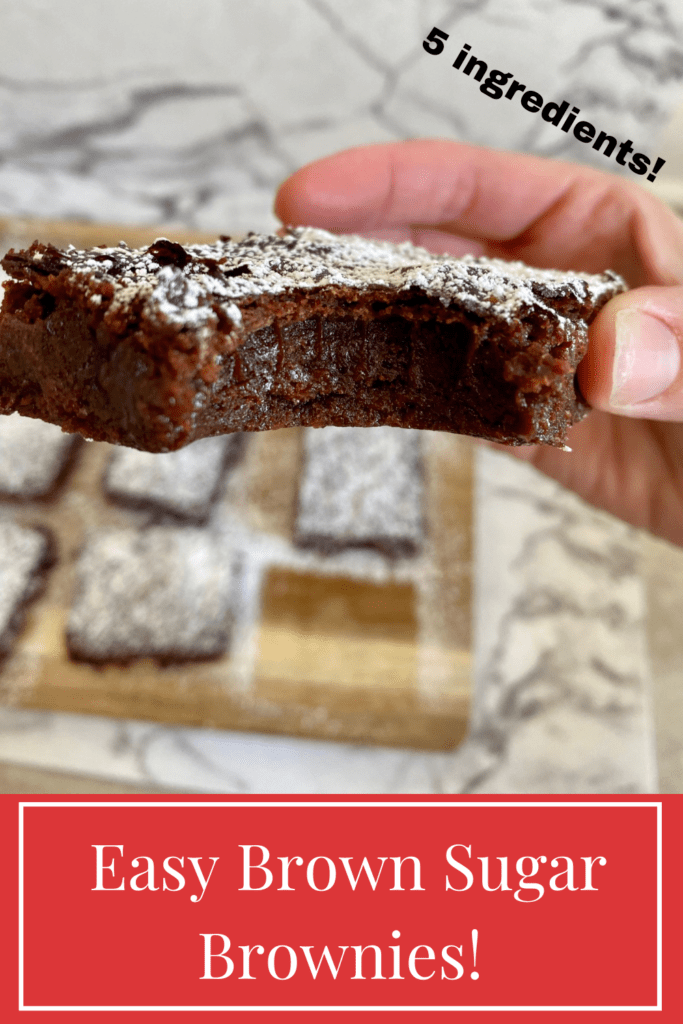
Brown sugar brownies are amazing fudgy brownies made with brown sugar and chocolate chips as a base. These 5 ingredient brownies are the decadently chewy and the fudgiest brownies you can make from scratch.

I love anything that is rich and chocolatey that will satisfy my sweet tooth and craving for chocolate. I usually keep boxed brownies around for the occasion, but sometimes I want chewy fudgy brownies that cans only be satisfied by this 5 ingredient brownie recipe! This is THE BEST recipe for chewy brown sugar brownies.
Brownies with brown sugar are easy to make and the brown sugar is what makes them so chewy and decadent. I guarantee you are going to love these brown sugar brownies, not only because of their amazing, chocolaty chewiness, but also because they are only 5 ingredient brownies!
Love chocolate? Check out my recipe for Salted Dark Chocolate Espresso Cookies or my Dark Chocolate Mousse!
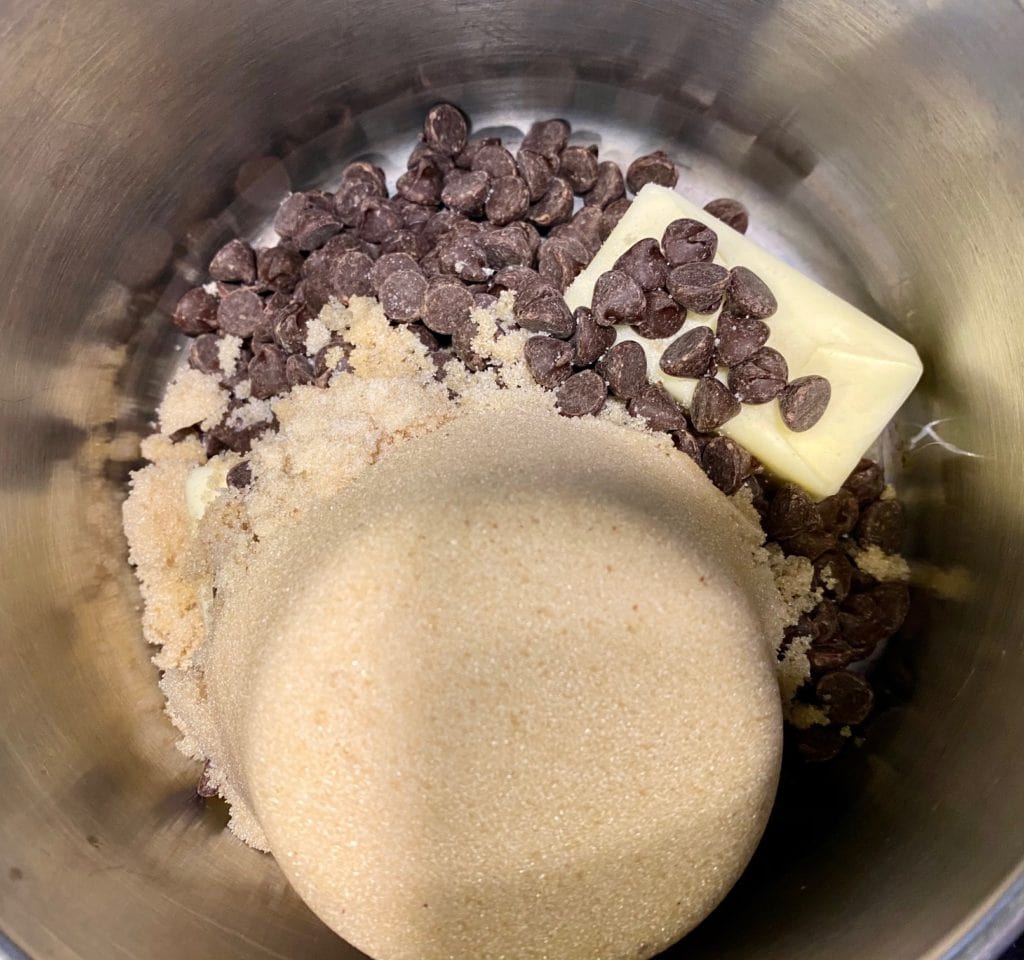
🍫 Ingredients
I love this brown sugar brownies recipe because it is so simple! All you need are...
- chocolate chips
- butter
- brown sugar
- flour
- eggs
🔪 Instructions
How to make chewy brown sugar brownies....
Preheat the oven to 350 F.
In a double boiler, or in a saucepan on low heat, melt the chocolate, butter and brown sugar together. Remove from heat and let cool for one minute. Stir in the lightly beaten eggs and flour. Pour the brownie batter into a greased 7 x 11 pan.

Bake uncovered in the preheated oven for 18-20 minutes or until done around the edges.
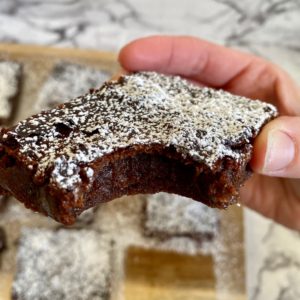
Should you top the brownies with powdered sugar or no?
I have several thoughts on this. I do love sprucing up box brownies with either a homemade chocolate frosting or a store bought frosting, HOWEVER for this decadent brownie recipe, there is no need for a heavy frosting. They can stand alone without anything, but I prefer to make them powdered sugar brownies by sifting confectioners sugar over the top of these chewy fudge brownies!
I love to serve these brownies either by themselves, or warm a la mode with vanilla ice cream. Enjoy!

Like this recipe? Don’t forget to rate it below and follow me on Instagram!
📖 Recipe
Brown Sugar Brownies
Ingredients
- 1 cup semi sweet chocolate chips
- 1 cup light brown sugar packed
- ½ cup butter (one stick)
- ¾ cup all purpose flour
- 2 eggs lightly beaten
Instructions
- Preheat the oven to 350° F
- In a double boiler or a saucepan over low heat, melt the chocolate chips, butter and brown sugar together, stirring until smooth
- Remove the chocolate mixture from the heat and let cool for 1 minute
- Add the lightly beaten eggs and the flour and stir until combined
- Pour the batter into a greased 7 x 11 in. pan
- Bake uncovered in the oven for 18-20 minutes or until it is brown around the edges


Tammy Horvath
Super simple to make with only 5 ingredients. I love brownies with ice cream.
Emily Ackerman
Me too!! Warm chocolatey brownies with vanilla ice cream. YUM!
Elizabeth
I love fudgy brownies. And every recipe I've tried only makes cakey brownies or they're too rich. These look just perfect. I can't wait to try them!
Alyssa
These looks delicious! I love brownies!
Stephanie
These look delicious. And only 5 ingredients? These would be so easy!
Marianne
These definitely look decadent! Yum! I love the fact that they are made with ingredients I always have on hand!
Gina
Brownies are my favorite dessert! This sounds like an amazing recipe that I will definitely have to try!
Angela
OMG! Chewy gooey brownies are seriously my favorite. I love these so much (could be trouble!)
Sabrina DeWalt
I love a fudgy, chewy brownie.
Ashley Pacheco
If you didn't hook me at brownies, you got me with the "only five ingredients"!
Emily Ackerman
HA! It really is the best
Barbara
COMPLETE YUM! Wow! How great do these look! I bet they are tastey!
Jason Gowin
well...there goes my diet for this week! My God these look fantastic!
Cindy
These brownies look amazing! I'll have to see if I can make vegan substitutes